Automating User Deactivation and Transfers with Templates
.svg)
Table of Contents
Deactivating users in Salesforce often involves multiple steps, making it a time-consuming task—especially in large organizations. From transferring record ownership to removing permissions, each step adds complexity to offboarding.
Throughout this series, we’ve covered:
- Creating transfer templates to simplify record transfers.
- Instantly executing transfer requests to streamline daily operations.
In this final part of the User360 series, we’ll focus on automating user deactivation by integrating transfer templates into process templates. This ensures seamless record transfers, permission removals, and user deactivations—saving time and minimizing human error.
By the end of this blog, you’ll be equipped to optimize your offboarding process and create a secure, efficient deactivation experience for Salesforce users.
Integrating Transfer Records into Process Template
1.Access Process Templates: Start by navigating to the “Configurations” tab in User360, where you can create or edit a process template.
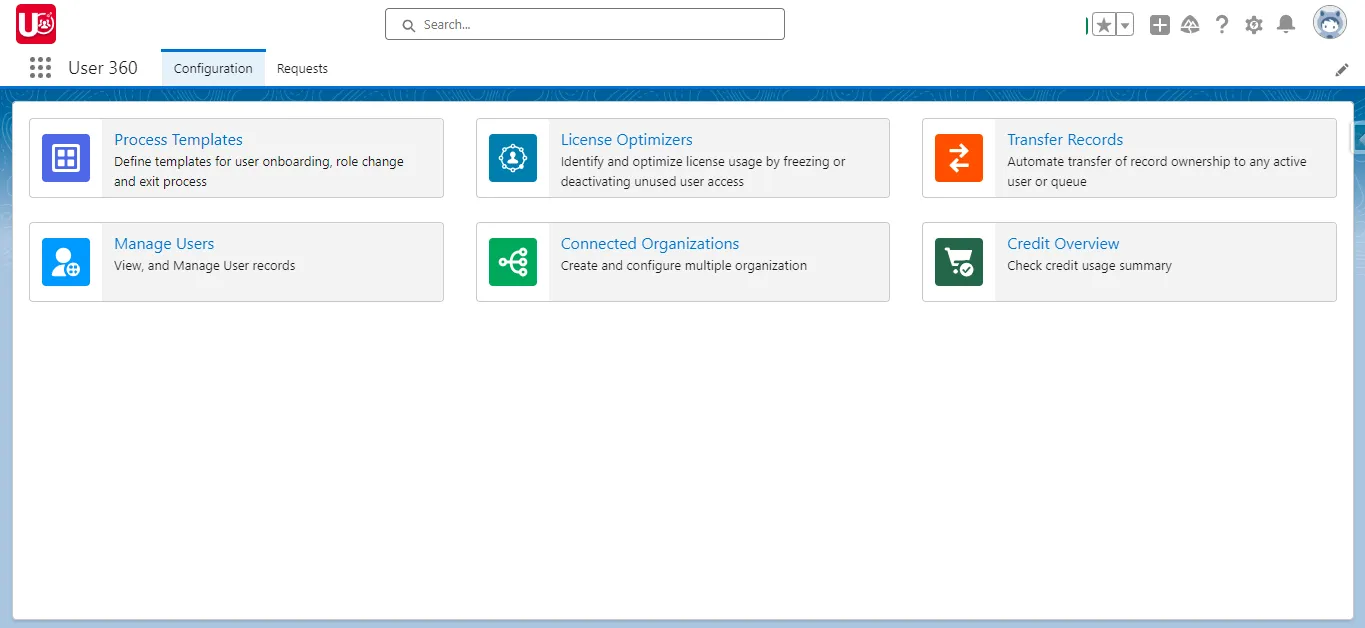
2.Create or Edit Template: In the “Process Templates” section, either create a new template or modify an existing one to include Transfer Records.
3. Add Actions:
- Begin by adding “Deactivate or Freeze User” to manage user offboarding.
- Follow with the “Transfer Records” action to transfer ownership of the deactivated user’s records.
4. Customizing Transfer Record Settings: In the “Transfer Records” section, select the relevant Transfer Records Template from the dropdown menu or create a new one if no template exists.
- Transfer From: Allow the “Transfer From” field to be editable during the request.
- Transfer To: Make the “Transfer To” field customizable based on specific needs.
- Batch Size: Enable the option to adjust the batch size during the process.
- Number of Records: Ensure the number of records to be transferred is editable.
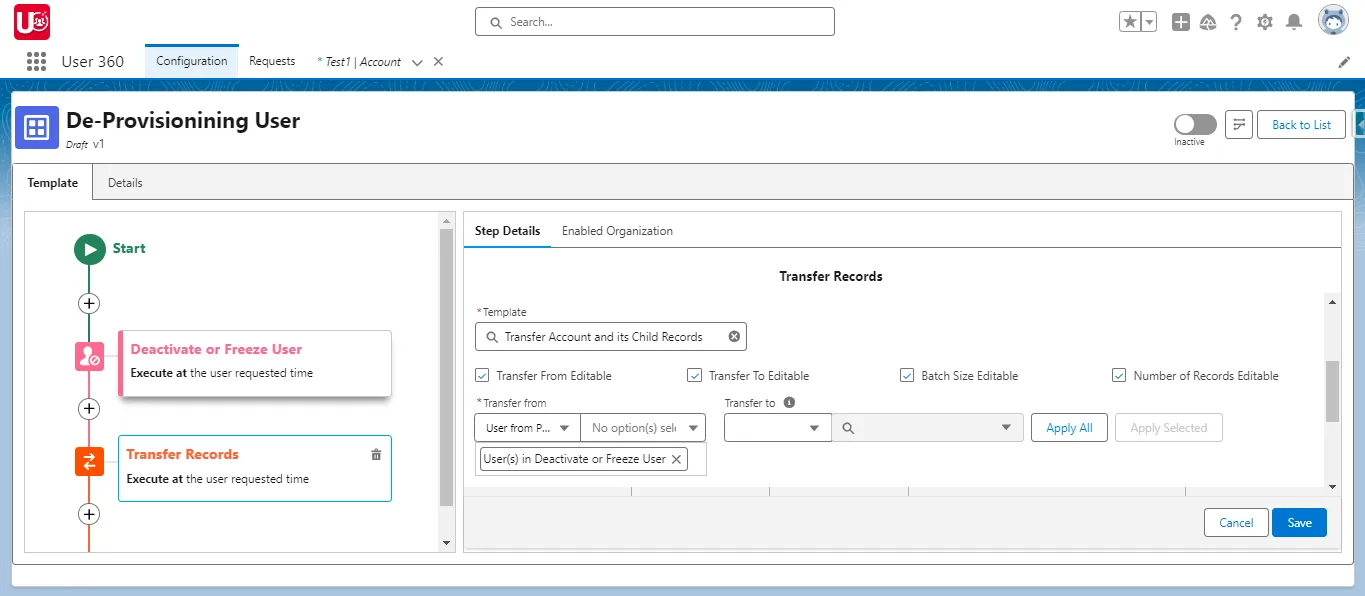
5. Specify Transfer Details:
- Transfer From: Set the user whose records will be transferred.
- Transfer To: Define the target user. Use the “Apply All” button to transfer all records to one user, or “Apply Selected” to specify different users for different records.
- Adding Additional Actions: Add other key offboarding actions to the process template, such as:
- Remove Permission Set
- Remove from Public Group or Queue
- Remove Package License
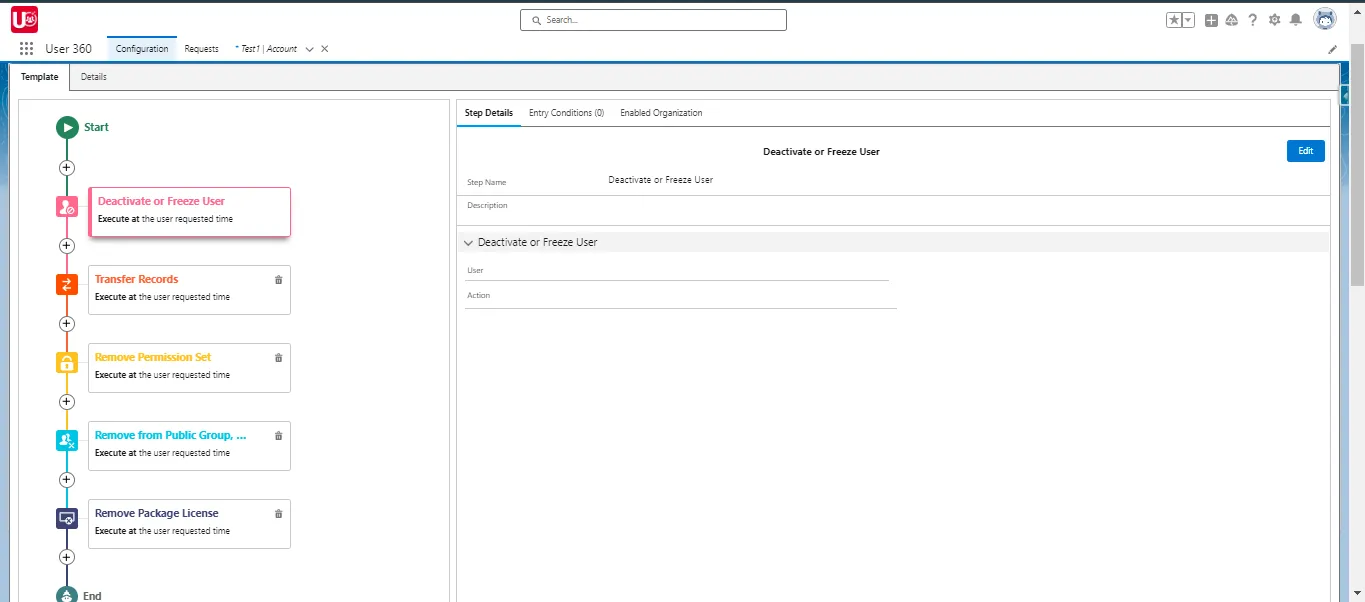
These steps ensure that deactivated users lose access to permissions, groups, and licenses, securing your data.
- Save and Finalize the Process Template: Once everything is configured, save the template to ensure an automated and error-free offboarding process.
This ensures that the deactivation and transfer processes are automated and error-free.
Ready to Transform with AI?
More Insights for you